Last week I got a call from a homeowner over in Hamburg. The wind had peeled back a section of shingles, water started showing up on the ceiling, and the insurance company had already sent a link that said: “Upload photos here.”
He told me, “Manny, I don’t even know what pictures they want… and I’m not trying to mess this up.”
If you’ve ever tried to figure out a claim while you’re also trying to keep your house from getting wetter, you know the feeling. This post is my plain-English walkthrough of the Lexington KY insurance claim process for storm damage — the part that happens before the contractor swings a hammer, and the part that decides whether you get paid fairly.
Step 1: Make it safe and stop the bleeding (without creating new damage)
Before we talk paperwork, we talk mitigation.
If you’ve got a roof leak in Tates Creek, a siding blow-off in Masterson Station, or water coming in around a window in Beaumont, the goal is simple: stop further damage.
Typical emergency steps:
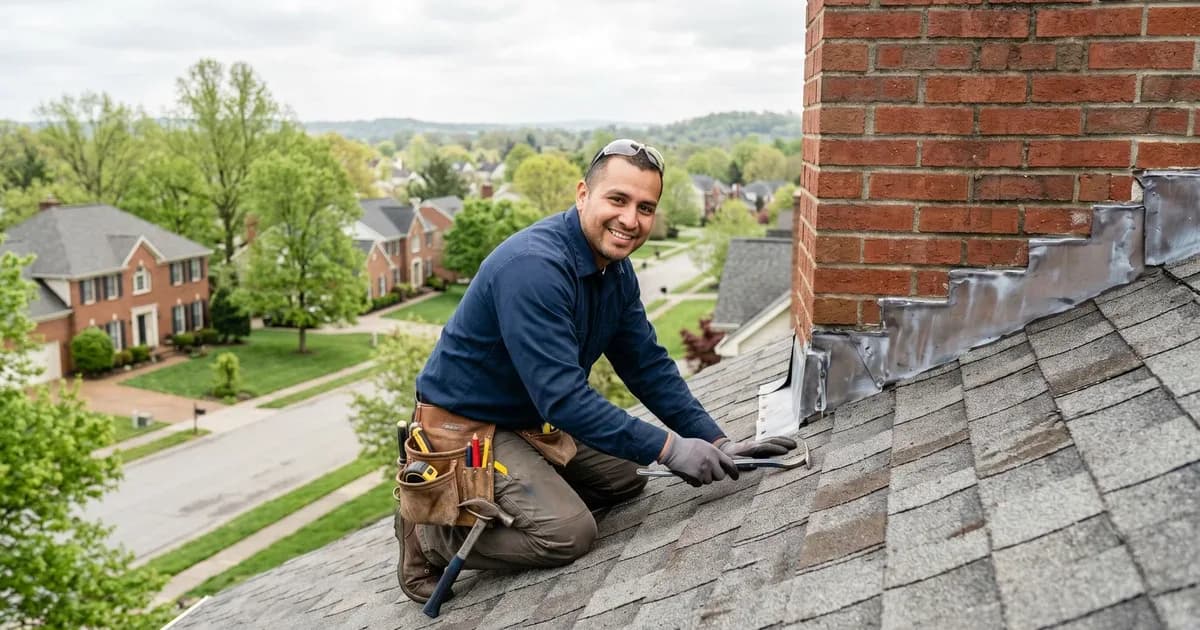
- Tarp or temporary roof patch
- Pull wet insulation if it’s dripping and trapping water
- Shut off water if a pipe or appliance line failed during the storm
- Set fans/dehumidifiers if you’ve got active moisture
Real talk on pricing: emergency tarping and temporary protection is usually $250–$900 depending on height, pitch, and how much area needs covered. Bigger roof sections or complicated access can push higher.
Step 2: Document like you’re building a case (because you are)
Insurance adjusters aren’t standing in your living room when the water ran down the drywall. They’re looking at files.
Here’s what I ask homeowners to gather:
- Wide shots (show the whole room/area)
- Medium shots (show the specific wall/ceiling section)
- Close-ups (staining, bubbling paint, cracked shingles, torn flashing)
- A short video walkthrough (narrate what you’re seeing)
- Dates: when you noticed it, when rain/wind happened, when you did temporary repairs
Pro tip: if you’re in Chevy Chase or Kenwick with older plaster and trim, get photos of the details before anything gets removed. Matching old work is possible — but it’s easier when we can prove what was there.
Step 3: Know what kind of claim you’re in (wind/hail vs water vs “wear and tear”)
This is where Lexington storms get tricky.
- Wind/hail claims usually hit roofing, gutters, siding, and sometimes window screens.
- Water claims can be covered if the water intrusion is tied to a covered loss (like wind damage that opened the roof).
- Wear and tear isn’t covered. If the roof is at the end of its life and a storm simply exposed it, insurance may try to deny or minimize.
I’m not an attorney, but I’ve been around enough claims in Gardenside and Southland to tell you this: the wording matters, and the scope matters even more.
Step 4: Don’t confuse “estimate” with “scope”
Homeowners get burned right here.
An estimate is pricing. A scope is the list of everything that needs to be repaired to get you back to pre-loss condition.
A solid scope after storm damage might include:
- Roof: shingles, underlayment, flashing, vents, drip edge
- Siding: panels, house wrap, trim, soffit/fascia
- Interior: drywall, insulation, paint, flooring transitions
- Detach/reattach: porch roofs, gutters, downspouts, satellite mounts
If the adjuster writes a scope that’s missing items, the check will be short — even if the adjuster is a nice person.
For a typical Lexington roof + interior ceiling repair, I see total project ranges like:
- Small repair scope: $1,500–$4,500
- Mid-size roof section + drywall/paint: $6,000–$15,000
- Full roof replacement plus interior work: $12,000–$28,000+
Step 5: Understand deductibles and depreciation (so the payment doesn’t surprise you)
Two things confuse people:
Your deductible
If your deductible is $1,000 and the approved repairs are $10,000, you’re not getting a $10,000 check. You’re getting $9,000 (minus depreciation if it applies).
Depreciation (ACV vs RCV)
- ACV (Actual Cash Value) policies pay depreciated value.
- RCV (Replacement Cost Value) policies often pay in stages: an initial payment, then the rest once work is completed and invoices are submitted.
That second check is real money, but only if the scope is right and the paperwork is clean.
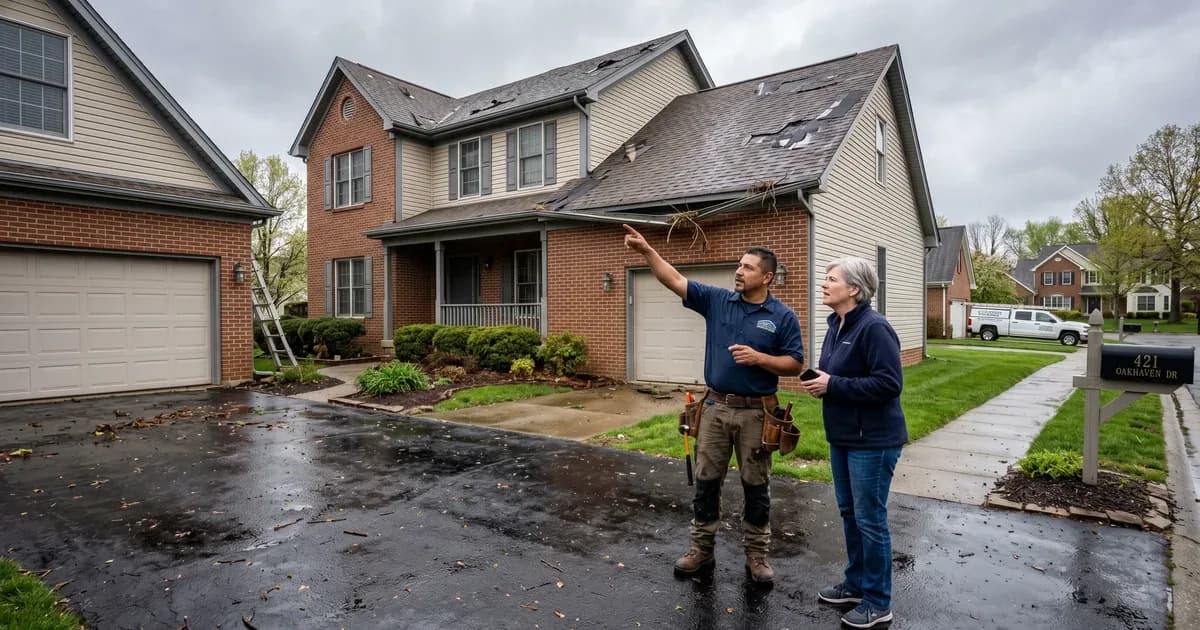
Step 6: The adjuster visit — what I like to have ready
When the adjuster comes out (or when it’s a virtual inspection), here’s what helps:
- All photos and videos organized by area
- A simple list of damaged components (roof, gutters, ceiling, flooring, etc.)
- Receipts for emergency tarping or mitigation
- A contractor’s written scope/estimate (even if it’s a preliminary one)
If you want me involved, I’ll walk the property in places like Hartland, Palomar, Meadowthorpe, wherever you are, and we’ll make sure nothing obvious gets skipped.
Step 7: Supplements — the “not fun but normal” part
A supplement is basically: “We opened it up and found more damage,” or “The original scope missed required items.”
This happens all the time with:
- Hidden rot at roof decking edges
- Wet insulation behind drywall
- Code-required items (like certain flashing details)
Supplements aren’t a scam. They’re a normal part of doing restoration the right way — as long as they’re documented.
Step 8: Avoid these Lexington claim mistakes (I see them every week)
Here are the big ones:
- Waiting too long to mitigate and document (water doesn’t take weekends off)
- Signing a vague contract with a door-knocker who “found damage” after a storm
- Letting the lowest bid set the scope (cheap scope = cheap payout)
- Doing major repairs before the adjuster sees it (temporary protection is fine; major tear-out can complicate)
- Not understanding matching (siding and shingles often don’t match perfectly — and that can matter)
If a guy shows up in Versailles or Georgetown with no local references and wants you to sign today, that’s your sign to slow down.
Where Handy Manny’s fits in
I do a lot of restoration work in Lexington and Central Kentucky, and I’m comfortable handling the whole chain: documentation, scope, build-back.
If you’re dealing with storm damage, these pages might help:
If your damage is interior and you end up deciding to upgrade while we’re in there, you can also look at:
My quick checklist before you file
If you want a simple list to follow:
- Protect the house (tarp/temporary repair)
- Take photos/video (wide/medium/close)
- Write down dates and storm details
- File the claim and schedule the inspection
- Get a real scope from a local contractor
- Review the adjuster scope carefully
- Handle supplements with documentation
If you’re in Lexington — Chevy Chase, Hamburg, Beaumont, Gardenside, Masterson Station — or anywhere in Central Kentucky, I’m happy to take a look and tell you what I’d do next.
Call (859) 551-5302 or get a free estimate at handymannyky.com/contact